cupcakes

Red Velvet Cupcake Recipe!

Saturday, February 09, 2013


red, velvet, cupcakes, recipe, food, blog, blogger, baking, frosting, cream, cheese

red, velvet, cupcakes, recipe, food, blog, blogger, baking, frosting, cream, cheese

red, velvet, cupcakes, recipe, food, blog, blogger, baking, frosting, cream, cheese

red, velvet, cupcakes, recipe, food, blog, blogger, baking, frosting, cream, cheese

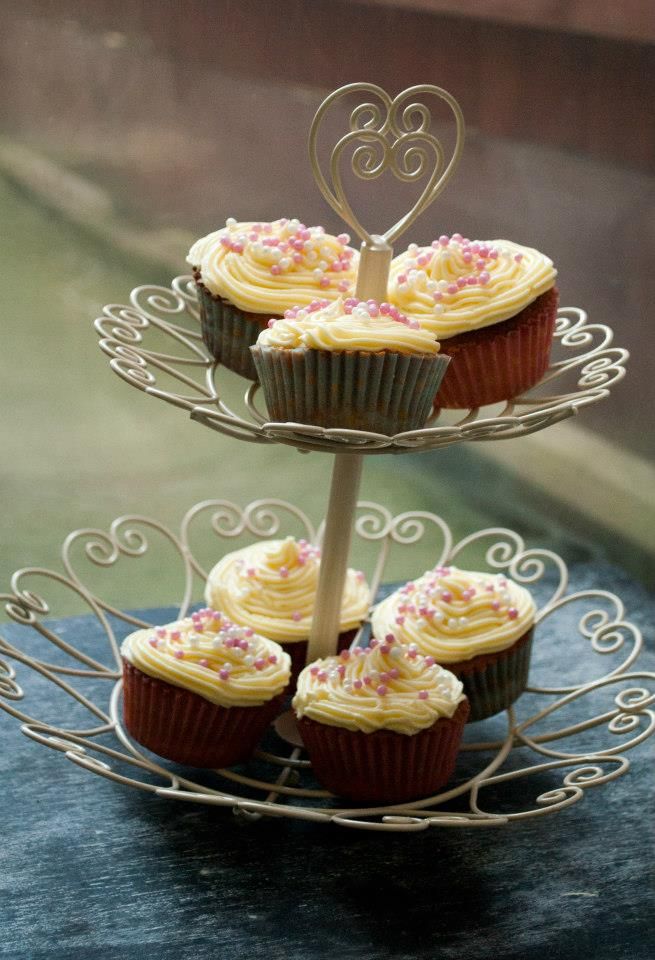
So today is my 20th Birthday and what better way to celebrate than with my favourite cupcake of all time. Red Velvet! It's soooo tasty and cream cheese frosting is my ultimate frosting. So here's the recipe:

Adapted from the Hummingbird Bakery.

Ingredients:
60g unsalted butter at room temperature
150g caster sugar
1 egg
20g cocoa powder
40ml red food colouring
½ tsp vanilla extract
120ml buttermilk
150g plain flour
½ tsp bicarbonate of soda
1½ tsp white vinegar


For the frosting:
300g icing sugar, sifted
50g unsalted butter, at room temperature
125g cream cheese, cold


1. Preheat the oven to 170°C/325°F/gas mark 3.

2. Put the butter and the sugar in a bowl and mix together (I used a handheld electric whisk) and beat on medium speed until light and fluffy and well mixed. Slowly add the egg and beat until everything is well incorporated.

3. In a separate bowl, mix together the cocoa powder, red food colouring and vanilla extract to make a very thick, dark paste. Add to the butter mixture and mix thoroughly until evenly combined and coloured (scrape any unmixed ingredients from the side of the bowl with a rubber spatula). Slowly pour in half the buttermilk.

4. Beat until well mixed, then add half the flour and beat until everything is well incorporated. Repeat this process until all the buttermilk and flour have been added. Scrape down the side of the bowl again and beat until you have a smooth, even mixture. Add the bicarbonate of soda and vinegar. Beat until well mixed.

5. Spoon the mixture into 12 paper cases until two-thirds full and bake in a bun tin, in the preheated oven for 20 to 25 minutes, or until the sponge bounces back when touched. A skewer inserted in the centre should come out clean. Leave the cupcakes to cool slightly in the tray before turning out onto a wire cooling rack to cool completely.

6. Make the frosting by beating the icing sugar and the 20g of the unsalted butter together until the mixture comes together and is well mixed. Add the cream cheese in one go and beat it until it is completely incorporated. Continue beating until the frosting is light and fluffy, at least five minutes. Do not overbeat, as it can quickly become runny.

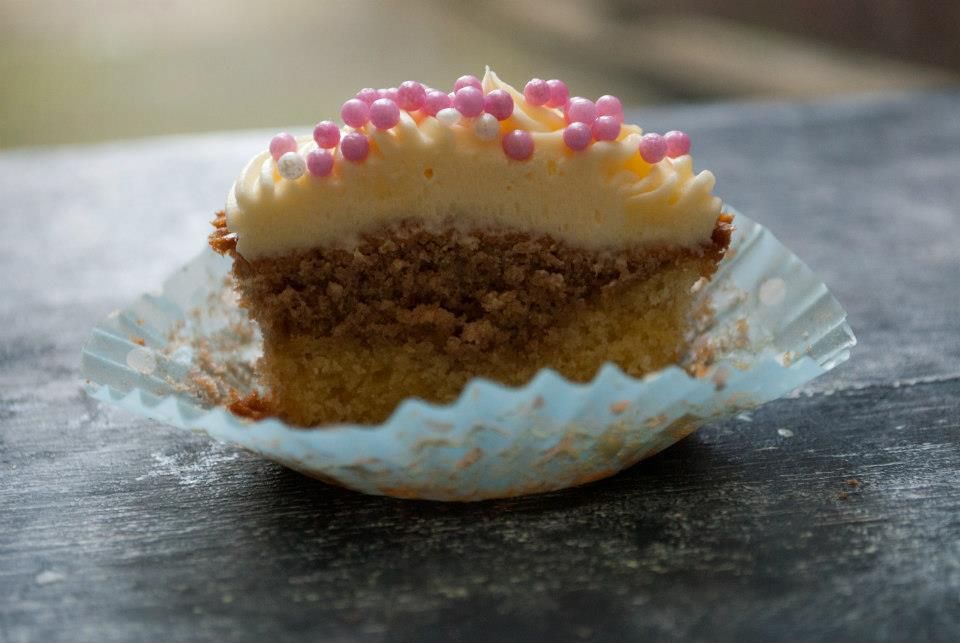
7. Top or pipe the cream cheese frosting on top of your cupcake. 

8. Shovel the cupcakes in until your ready to burst! Hey it is my birthday!

♥ 


9 Replies

Birthday Blog Cupcakes!

Tuesday, January 15, 2013


Tomorrow marks my blog's first birthday! I can't believe that I've occupied this space on the Internet for that long. I'm also proud of the things I've achieved and I want to say a massive thank you to everyone that follows, supports and comments on my posts. I literally wouldn't be here without you.

Well now I've got the soppy stuff over, it's not a celebration without cake. So I came up with an idea, to create something a bit special. My rosewater and vanilla cupcakes. Here's the recipe for you guys:

Ingredients:
150g butter, softened
150g caster sugar
175g self-raising flour
3 free range eggs
4 capfuls of vanilla extract
5 capfuls of rosewater essence
Few drops of pink food colouring

1. Line a 12 section bun tray with pretty cases and preheat the oven to 180ºC/Gas Mark 4.
2. Cream together the butter and sugar. I use an electric mixer as it makes the mixture smoother but it can be done by hand.
3. Sieve in some of the flour and crack in one egg and mix, continue doing this until all the ingredients are mixed together.
4. Add the vanilla extract and give the mixture another whisk (for luck)
5. Fill the cases half full with half of the vanilla mixture. You should be left with another half ,to
this add the rosewater and add the pink food colouring and set aside.
6. Put the cakes into the oven for 8 minutes. After 8 minutes take the cakes out of the oven and
 spoon the pink mixture over the top. Pop back into the oven for a further 12 minutes. The cakes should be
firm to touch.
7. Cool the cakes on a wire rack.
8. Decorate with buttercream frosting and sprinkles.

I hope that's not too confusing. Layering the mixtures up will mean you get the two tone effect in the picture above. You could always add the pink food colouring to all of the mixture and just make pretty pink cupcakes!


3 Replies

Oreo cupcakes recipe!

Saturday, November 10, 2012


This is a family favourite and my mum usually makes these on a rainy sunday afternoon. I thought I'd share the recipe with you.

Ingredients
75g/3oz mini oreo cookie
175g/6oz unsalted butter, softened
150g/5oz caster sugar
3 medium eggs
175g/6oz self raising flour,sifted
½ tsp baking powder
3 tbsp milk
½ tsp vanilla extract

For the icing:
75g/3oz unsalted butter, softened
150g/5oz icing sugar, sifted
2 tsp vanilla extract
1tsp cocoa powder

1. Preheat the oven to 200ºC/gas mark 6. Line a 12 hole muffin tin with cupcake liners. Reserve 12 mini oreos and roughly chop the remainder.
2.Beat together the butter and caster sugar until soft and creamy.
3.Gradually whisk in the eggs, until just combined.
4. Fold in the flour, baking powder, milk, vanilla extract and chopped oreos.
5. Once combined divide the mixture up into the cupcake liners.
6. Bake for 15 - 20 minutes until golden and risen. Allow to cool.
7. For the icing beat the butter into a bowl until fluffy. Gradually add the icing sugar, cocoa powder and vanilla extract.
8. Cover the cupcake with icing and add a mini oreo on top.

And your done! They are so moreish. They'll keep for 2-3 days in an airtight container but they probably won't be around that long! Enjoy, oh and if you make them please tweet me a photo!

6 Replies
© Little Paper Swans. Design by Fearne.