cooking

Peanut butter brownies recipe!

Thursday, February 28, 2013

peanut, butter, brownies, food, blog, blogger, uk, baking, recipe, chocolate

peanut, butter, brownies, food, blog, blogger, uk, baking, recipe, chocolate

peanut, butter, brownies, food, blog, blogger, uk, baking, recipe, chocolate

peanut, butter, brownies, food, blog, blogger, uk, baking, recipe, chocolate

My mama subscribes to Good Housekeeping and as soon as it arrives I beg her to open it so I can read the recipes. As soon as I saw this recipe I had to make it. I am a massive peanut butter fan and a massive brownie fan so the two together is heaven.

Tomorrow is National peanut butter lover days, so why not whip up a batch and eat. It will be Friday after all!

Here's the recipe:

adapted from Good Housekeeping 

Ingredients
175g butter, chopped, plus extra to grease
125g dark chocolate, roughly chopped
250g light soft brown sugar
2 medium eggs
125g plain flour 
For the peanut butter marble:
25g butter, melted
40g icing sugar, sifted
100g smooth peanut butter
2tsps vanilla extract

1. Preheat the oven to 180º/gas mark 4. Grease and line a 20.5cm (8in) square tin with parchment. 
2. Melt the butter and chocolate in a large pan, stir frequently.
3. Take off the heat when melted and stir in the sugar. Crack in to eggs.
4. Sift in the flour and cocoa powder and mix together.
5. To make the peanut butter marble, mix all the ingredients together in a bowl.
6. Spoon one-third of the chocolate mixture into the tin and spread level. Dollop over a few spoonfuls of peanut mixture. Top with the remaining chocolate mixture and spread to level.
7. Drop the remaining peanut butter mixture into the brownie and tap the tin to remove any air bubbles. Take a knife and marble the mixture.
8. Bake for 35 minutes until a solid crust has formed. Leave to cool completely (do this or it will collapse!) before lifting out. Slice and serve.

Sprinkle with some icing sugar.

Warning this is delicious and addictive!

♥ 


1 Reply

Lately #20

Sunday, February 24, 2013


Wow what a week! I've done three photo shoots for uni. Been to work, started to create my website. Things are hectic at the moment. I still need to fit in another photo shoot this week some point. I also have so many emails to reply to. Another day in the week please?

I thought spring was on its way as we had a teaser at the beginning of the week now were back to cold and miserable. I'm a little bit fed up of grey skies now. I have so many summer dresses waiting to be worn. 

Hurry along summer!

♥ 

1 Reply

Healthy fried brunch recipe!

Wednesday, January 23, 2013


I think I may have discovered the greatest brunch idea ever! Now there's nothing stopping you having this for breakfast other than the fact someone will have to get up early (or you could cook them the night before) to cook the potatoes. So it's really the perfect thing for a lazy Sunday.

Here's the recipe, now I'm a vegetarian so no meat for me but you could always add some bacon if you wanted!

Ingredients to serve 2:
250g potatoes, cubed
125g button mushrooms, chopped in half
10 cherry tomatoes, chopped in half
2 tablespoons olive oil
2 eggs
salt and pepper
Cibatta, to serve

1. Parboil the potatoes until they are soft. Drain and let the steam out.
2. Pre-heat the oven to 220ºC/Gas Mark 7.
3. Place the potatoes, tomatoes and mushrooms in a roasting tray. Drizzle with the olive oil and season to taste with the salt and pepper.
4. Put in the oven for 25 minutes. Make sure the potatoes are cooked through, then bring out of the oven.
5. Make two hollows in the tin by pushing the vegetables to the side. Break an egg in each hollow and bake for a further 5 minutes. Once the eggs are set , bring out of the oven and serve on pretty plates.
6. Toast or grill your cibatta and serve.
7. Make yourself a glass of orange juice, grab a paper and sit back and relax.

♥
8 Replies

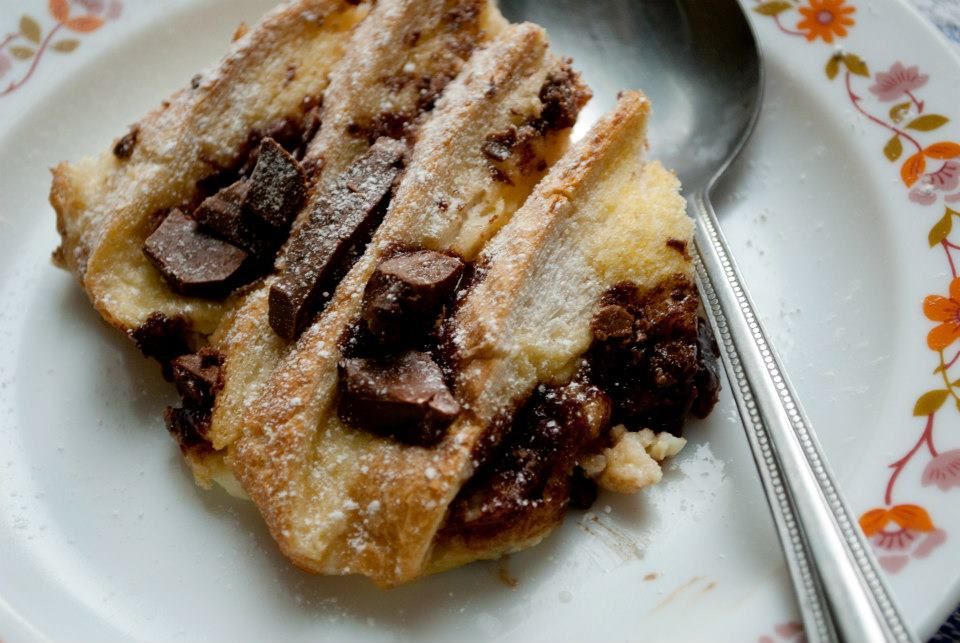
Chocolate chunk bread and butter pudding recipe!

Monday, January 21, 2013


Well the snow has hit us hard again. Of course we had to venture into the garden and build a snowman. On the coast where I live we've had around 6 inches! Which is some of the deepest snow we've had in years.

When it's bitterly cold and you've come in from the snow all you want (well all I want) is a nice hot dessert and I've found an easy store cupboard essentials recipe.


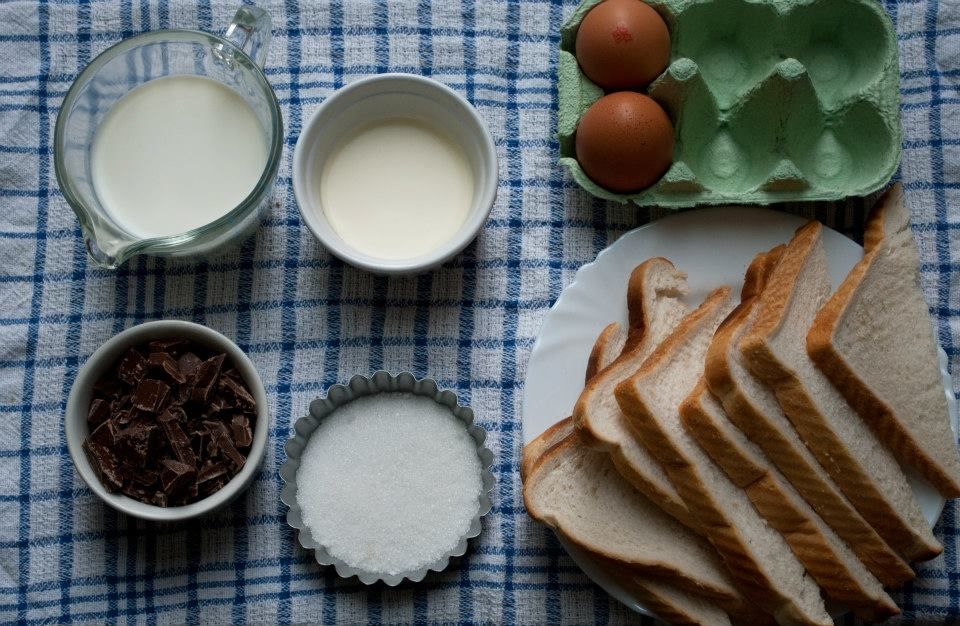
Chocolate chunk bread and butter pudding. It's really easy to cook and takes around 25 minutes.

Ingredients:
4-8 Slices of bread, depending on how big your tin is.
Butter, to spread
175ml Milk (full fat milk is best)
25ml Double cream
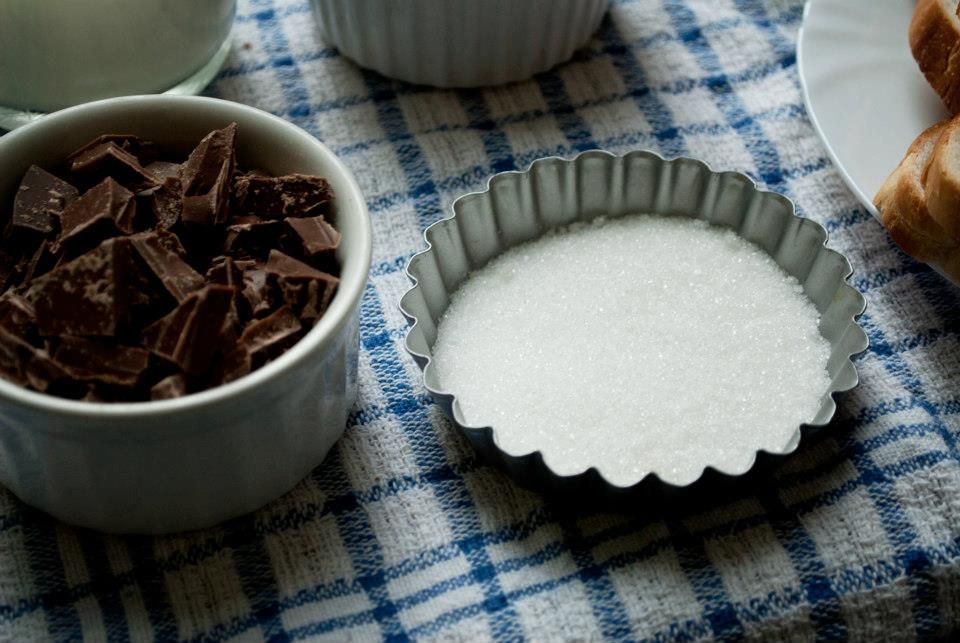
20g Sugar
2 Eggs
85g Chocolate, chopped into chunks

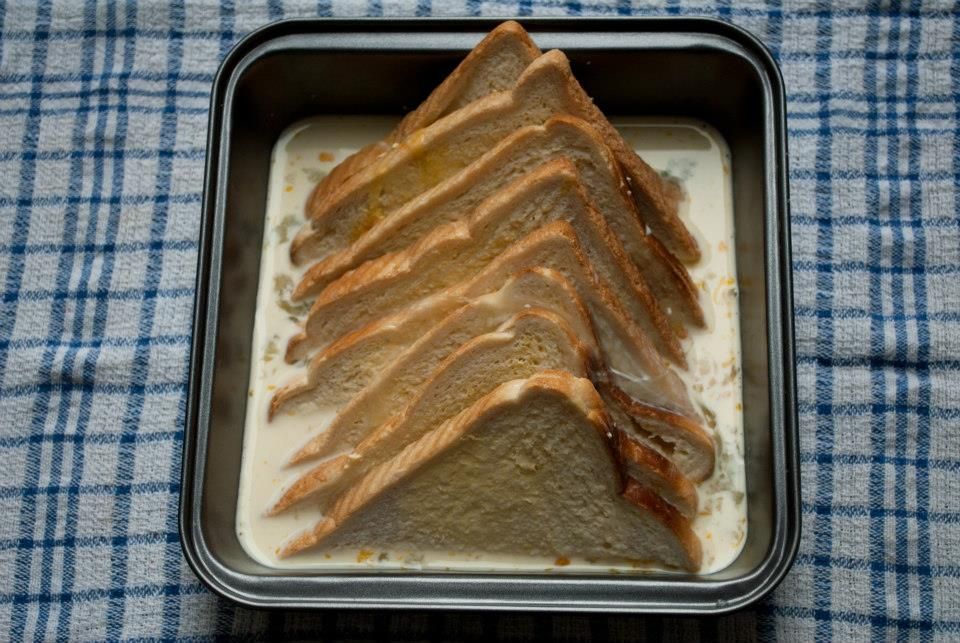
1. I left my bread out overnight to go a bit stale as this make the liquid soak into the bread better.
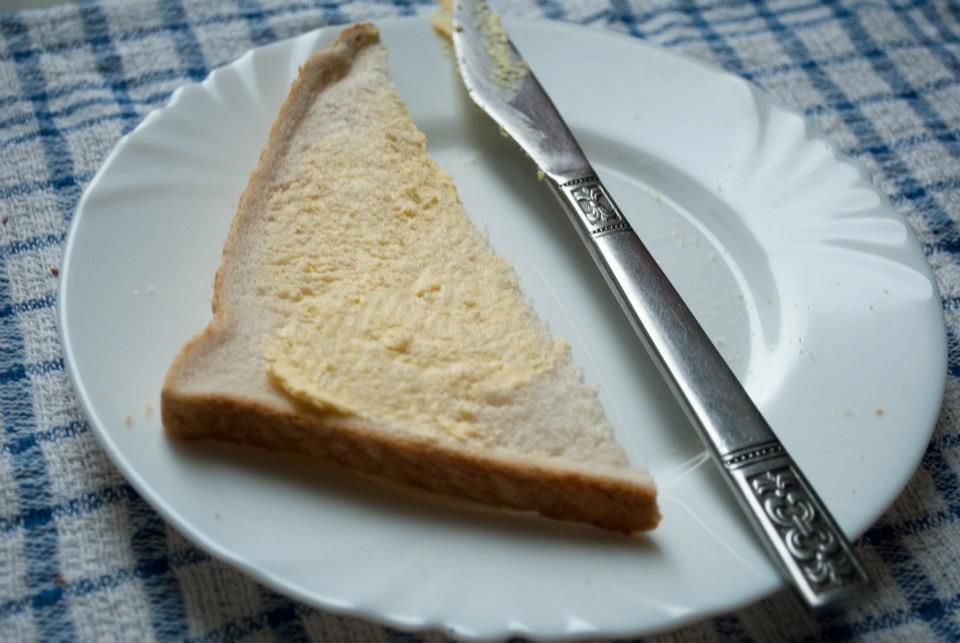
2. Cut the bread into triangular slices and butter both sides and lay in your tin.
3. In a jug mix the milk cream and sugar together, then add the eggs. Stir until combined.
4. Pour the mixture over the bread and leave to sit for 15 - 20 minutes.
5. While your waiting preheat the oven to 180ºC/ Gas mark 4.
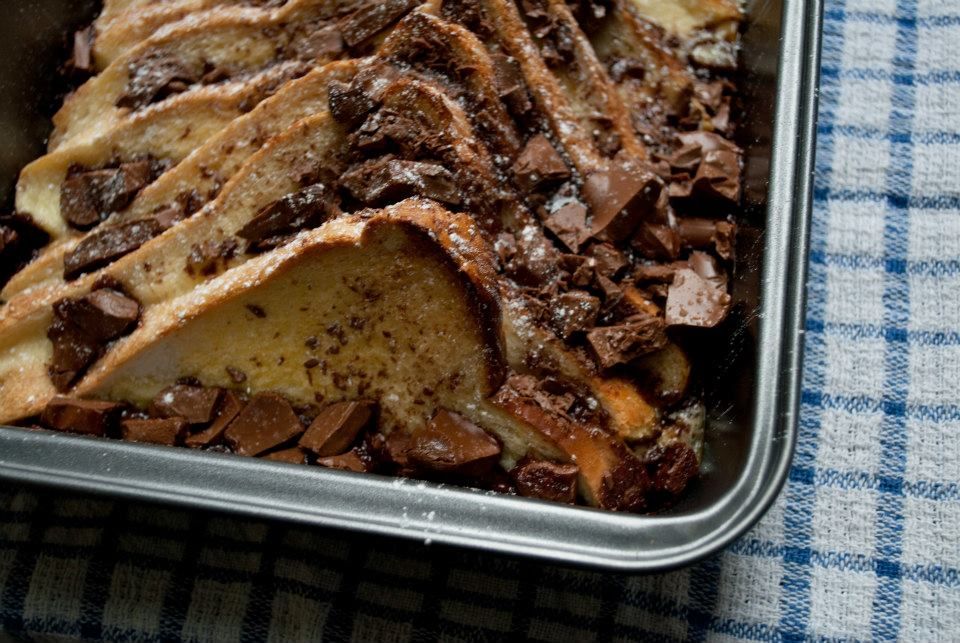
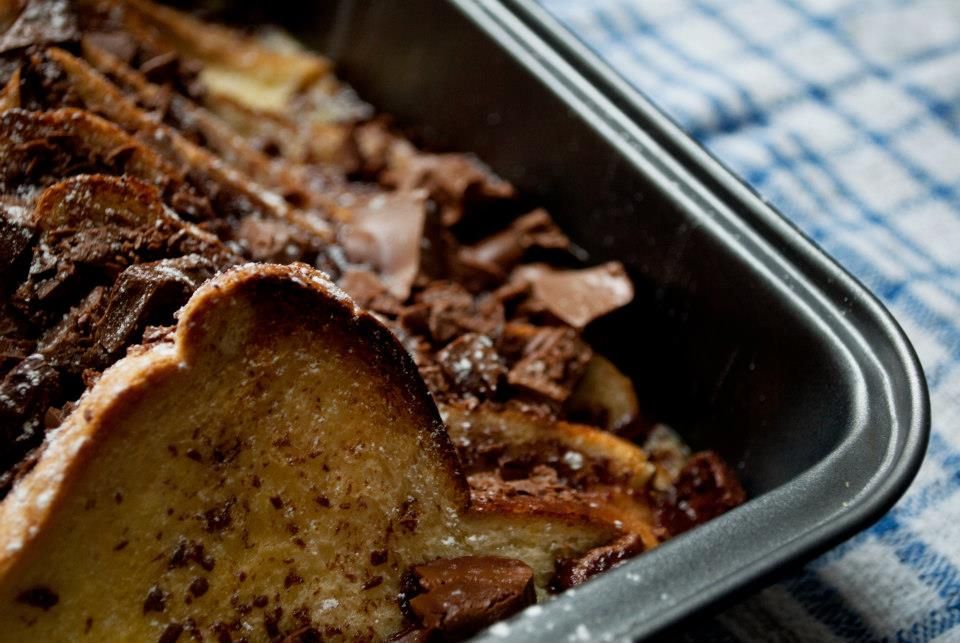
4. Sprinkle the chocolate chunks over the bread and put in the oven for 25 minutes. Keep an eye on it as it may not take as long.
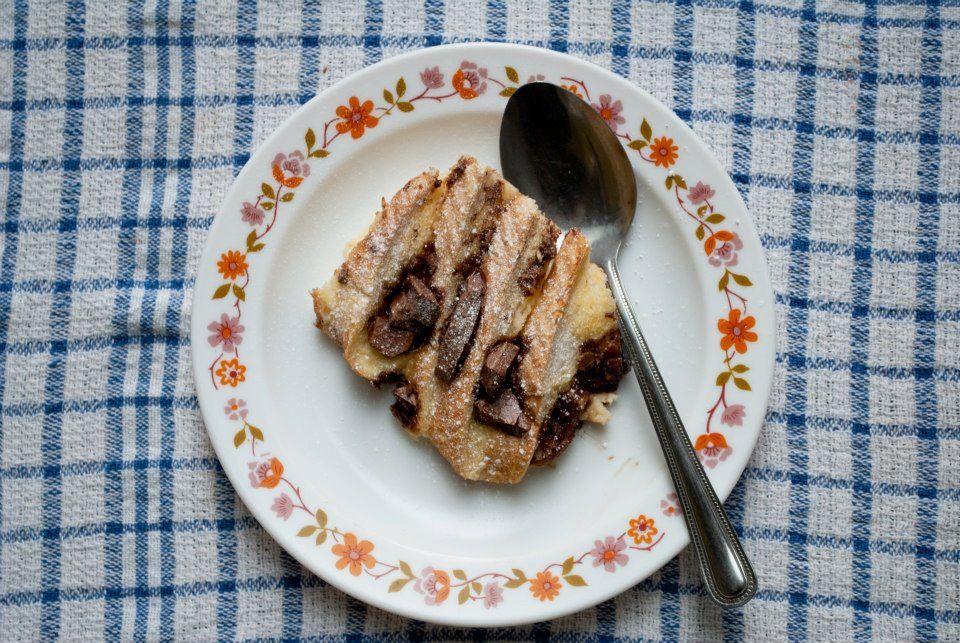
5. Once cooled dust with icing sugar to make it look pretty. You could serve this with cream, custard or good quality ice cream.

And your done, easy as that. It tastes great too. If you like raisins or dried fruit you could put that in instead of the chocolate. But I much prefer chocolate!

♥

5 Replies

Birthday Blog Cupcakes!

Tuesday, January 15, 2013


Tomorrow marks my blog's first birthday! I can't believe that I've occupied this space on the Internet for that long. I'm also proud of the things I've achieved and I want to say a massive thank you to everyone that follows, supports and comments on my posts. I literally wouldn't be here without you.

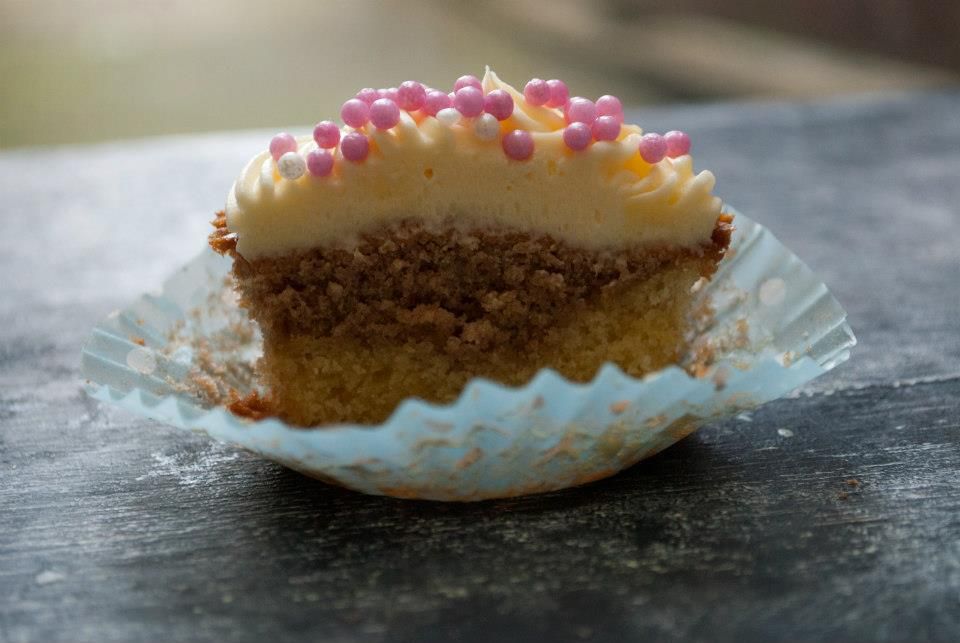
Well now I've got the soppy stuff over, it's not a celebration without cake. So I came up with an idea, to create something a bit special. My rosewater and vanilla cupcakes. Here's the recipe for you guys:

Ingredients:
150g butter, softened
150g caster sugar
175g self-raising flour
3 free range eggs
4 capfuls of vanilla extract
5 capfuls of rosewater essence
Few drops of pink food colouring

1. Line a 12 section bun tray with pretty cases and preheat the oven to 180ºC/Gas Mark 4.
2. Cream together the butter and sugar. I use an electric mixer as it makes the mixture smoother but it can be done by hand.
3. Sieve in some of the flour and crack in one egg and mix, continue doing this until all the ingredients are mixed together.
4. Add the vanilla extract and give the mixture another whisk (for luck)
5. Fill the cases half full with half of the vanilla mixture. You should be left with another half ,to
this add the rosewater and add the pink food colouring and set aside.
6. Put the cakes into the oven for 8 minutes. After 8 minutes take the cakes out of the oven and
 spoon the pink mixture over the top. Pop back into the oven for a further 12 minutes. The cakes should be
firm to touch.
7. Cool the cakes on a wire rack.
8. Decorate with buttercream frosting and sprinkles.

I hope that's not too confusing. Layering the mixtures up will mean you get the two tone effect in the picture above. You could always add the pink food colouring to all of the mixture and just make pretty pink cupcakes!

♥


3 Replies
© Little Paper Swans. Design by Fearne.