easy

Salt dough ornaments

Friday, December 06, 2013


Salt dough ornaments bring back so many memories of childhood. My mum would always make a load of dough and let us cut out lots of different shapes, paint them up and put so much glitter on them. They would then take pride of place on the Christmas tree. In fact I'm pretty sure that my mum still has some of them still.

This is such a cheap and easy way to decorate your home this Christmas. It's also perfect for the kids. I know my niece and nephew would love these! But I've made some for tree. I'll post more details about that soon. 

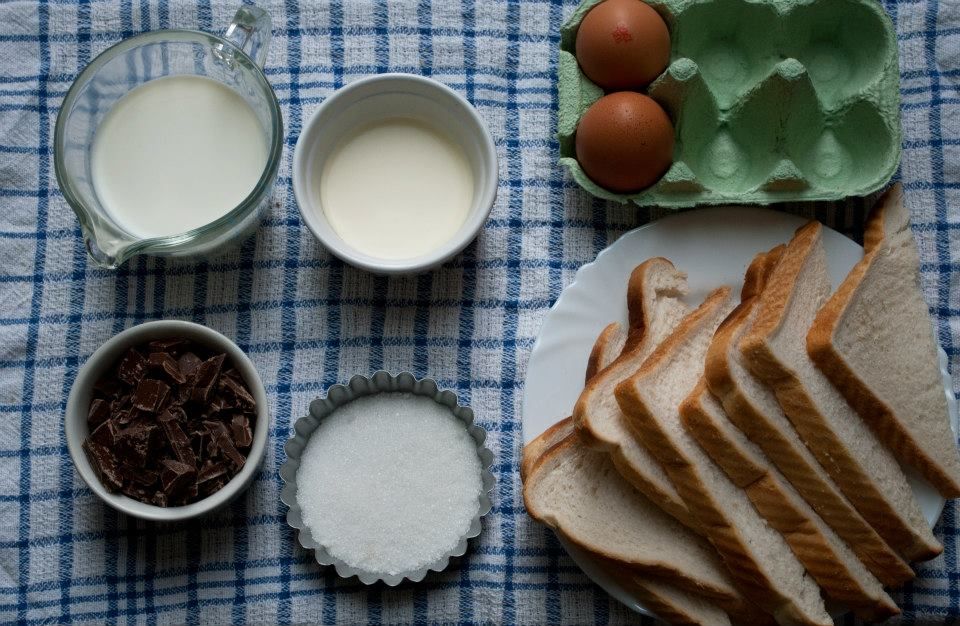
1 cup of plain flour
1/2 cup of salt
1/2 cup of water
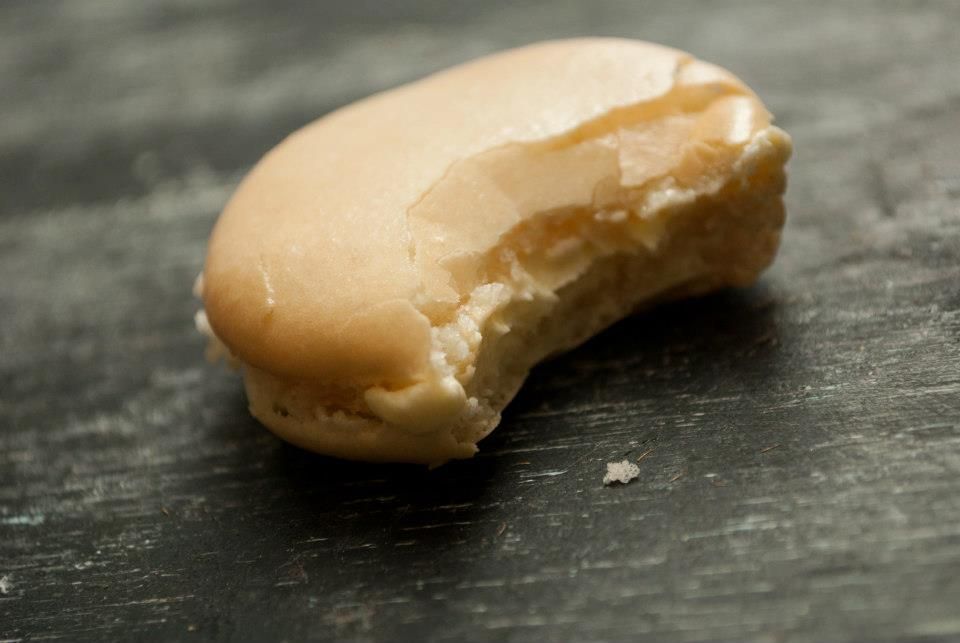
(Please note that these are not edible! I imagine they taste foul!) 

Mix all the ingredients together, if you find the mixture too sticky add more flour. If you find the mixture to dry add more water! 

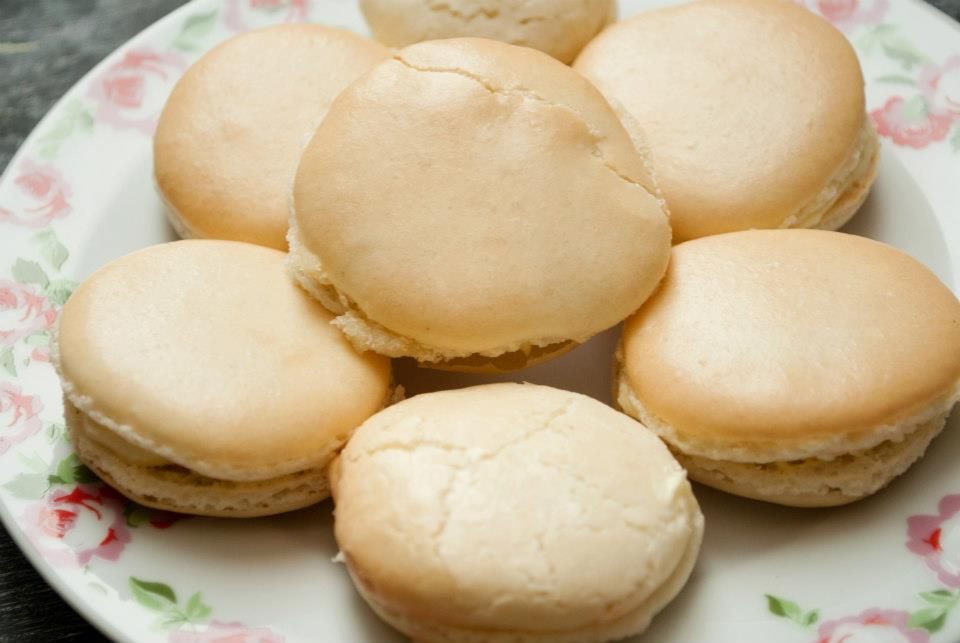
Cut out any shapes you like! Remember to make a small hole in the tops so they can be hung.

You can either leave to air dry (this takes forever around a week!), oven cook them on the lowest heat for 3-5 hours (too long!) or do what I did. Zap them in the microwave for 3 minutes. If they're not done or are still sticky after the 3 minutes, keep microwaving until dry.

Once the shapes are dry you can paint them or leave them natural. Thread a coloured ribbon or thread through the hole and they're ready to hang!


post signature
2 Replies

Chunky crouton salad.

Tuesday, August 27, 2013


As a vegetarian people often find it amusing that I'm not a big fan of salads. There's something daunting about a plate of leaves. I worry they won't fill me up or they'll taste like grass. But recently salads have been my thing! And this one is good. I do have to admit I like to add a good dollop of mayo to mine but a fancy dressing would work equally as well. I like big croutons but Mr told me they were too big (no such thing!). It's purely a personal thing but I like a chunky crouton!

Maybe I've fallen in love with salads due to my new food processor. Appliances Direct kindly asked me if I'd like a product from there website and a food processor has been top of my list for ages. This one is perfect. Appliances Direct postage was so speedy I couldn't believe when it arrived in under 24 hours. Now that's what I call speedy.


Ingredients
Cibatta, cut into large chunks
Iceburg lettuce, chopped
Carrot, grated
Grapes, sliced
New potatoes, sliced
Olive oil,
Seasoning

Place the chunks of cibatta onto a baking tray and thinly coat each one in olive oil and season with salt and pepper. Place into the oven at 200ºC/Gas Mark 6 until golden and crispy. Allow to cool.

Place the potatoes into a pan and cover with water. Par-boil the potatoes until just soft, be careful not to allow the potatoes to get to soft as they will turn soggy. Once soft, drain and allow to dry. Heat 1tsp of olive oil in a pan and fry the potatoes until golden and crispy (I like golden and crispy!). Drain onto kitchen roll.

Arrange the lettuce, carrot and grapes onto a plate or serving platter. Add the crispy potatoes and croutons and serve with lashings of mayo.
post signature

0 Replies

Simple flapjacks

Thursday, August 22, 2013


simple, flapjacks, recipe, oats, easy, food, blog, blogger, uk, lifestyle

simple, flapjacks, recipe, oats, easy, food, blog, blogger, uk, lifestyle

simple, flapjacks, recipe, oats, easy, food, blog, blogger, uk, lifestyle


Sometimes the best recipe are the simplest. Basic ingredients combining together to make something delicious. I made these a week or so ago for a family picnic and they went down a treat. Flapjacks are something that I never used to like. Shop brought tend to be dry and break your teeth with one bite. When my mum started to make them that's when I fell in love. This recipe is so quick and easy to make there's no excuse not to make them!

Adapted from Good Housekeeping

125g butter
125g light muscovado sugar
125g golden syrup
250g rolled oats

In a pan, over a low heat, melt together the butter, muscovado sugar and golden syrup. 

Once combined stir through the oats until they are evenly coated in the mixture.

Put into a lined (8in) square tin and bake for 25-30 minutes at 160º/Gas 3.

The sides should feel firm and the middle should still be soft. Once baked leave to completely cool. 

Cut up and serve.
1 Reply

Chocolate chunk bread and butter pudding recipe!

Monday, January 21, 2013


Well the snow has hit us hard again. Of course we had to venture into the garden and build a snowman. On the coast where I live we've had around 6 inches! Which is some of the deepest snow we've had in years.

When it's bitterly cold and you've come in from the snow all you want (well all I want) is a nice hot dessert and I've found an easy store cupboard essentials recipe.


Chocolate chunk bread and butter pudding. It's really easy to cook and takes around 25 minutes.

Ingredients:
4-8 Slices of bread, depending on how big your tin is.
Butter, to spread
175ml Milk (full fat milk is best)
25ml Double cream
20g Sugar
2 Eggs
85g Chocolate, chopped into chunks

1. I left my bread out overnight to go a bit stale as this make the liquid soak into the bread better.
2. Cut the bread into triangular slices and butter both sides and lay in your tin.
3. In a jug mix the milk cream and sugar together, then add the eggs. Stir until combined.
4. Pour the mixture over the bread and leave to sit for 15 - 20 minutes.
5. While your waiting preheat the oven to 180ºC/ Gas mark 4.
4. Sprinkle the chocolate chunks over the bread and put in the oven for 25 minutes. Keep an eye on it as it may not take as long.
5. Once cooled dust with icing sugar to make it look pretty. You could serve this with cream, custard or good quality ice cream.

And your done, easy as that. It tastes great too. If you like raisins or dried fruit you could put that in instead of the chocolate. But I much prefer chocolate!


5 Replies

Basic Macaron Recipe!

Tuesday, January 08, 2013


Meet what was my nemisis until yesterday when I finally mastered macarons (Some people say macaroons however for the french meringue beauty I made it is actually macaron, just put on a french accent!)

It's not an easy thing to do and chances are a few will fail but the recipe I used worked so I thought I would share it with you guys.

Ingredients:

150g organic egg whites (around 5 eggs)
100g caster sugar
180g ground almonds
270g icing sugar

1. Line three flat baking sheets with greaseproof paper. Make sure that the paper is flat.
2. Whisk the egg whites and gradually add the caster sugar at the same time until glossy firm peaks form.
3. In a seperate bowl sift the ground almonds with the icing sugar, discard any large coarse pieces of almond.
4.Mix well to incorporate the icing sugar and almonds.
5. Incorporate the beaten egg whites into the dry ingredients using a large spatula. Mix well. (No need to fold the mixture.)
6. Work on the mixture by using a plastic scraper (I used a spatula). Press down with the spatula on the mixture, going back and forth pressing the oxygen out of the egg whites. Do this for no more than 5 minutes.
7. The mixture should leave ribbons on the spatula.
8. Transfer the mixture to a piping bag.
9. Pipe out the desired size of rounds (about 3cm in diameter. Make sure you leave enough space for the mixture to expand.
10. Leave for 30 minutes to set. This makes the glossy top. You'll know when there ready as they will feel hard on top.
11. While you are waiting for them to set preheat the oven to 160­­°C/Gas 4.
12. Bake in the centre of the oven - one tray at a time - for around 10 minutes. Test after 8, if they wobble slightly put back in for 3 to for 4 minutes.
13. When cooked leave to cool (seriously they will collapse if you try to take them off warm!) and then marry up the discs. I filled mine with buttercream but you can use whipped cream inside too.

I told you in was a little bit complicated but it's totally worth it!


2 Replies
© Little Paper Swans. Design by Fearne.