food

[Food] Hot Milk Cake

Saturday, August 01, 2015

hot, milk, cake, recipe, baking, food, blog, blogger, uk, bake, easy, simple, scalded, photography, styling

hot, milk, cake, recipe, baking, food, blog, blogger, uk, bake, easy, simple, scalded, photography, styling

The past few rainy days have called for one thing. Hibernating inside with cake and cup of tea. It's hard to believe that this is summer. For those of you not in the UK it's been rather wet and grey. But apparently August is going to be the hottest ever. Being heavily pregnant I really hope it isn't. I'd like the sunny weather and blue skies combined with a cool breeze please? Is that really too much to ask for? The rainy days have been alright though as we've been sorting the house out ready for baby and it makes staying in OK, rather than longing to be out in the sunshine.

Back to the subject of cake. There are are so many fancy cakes out there to bake but sometimes you just want something simple but delicious. On Wednesday afternoon I searched for what cake to make, it was between this cake and a honey one.

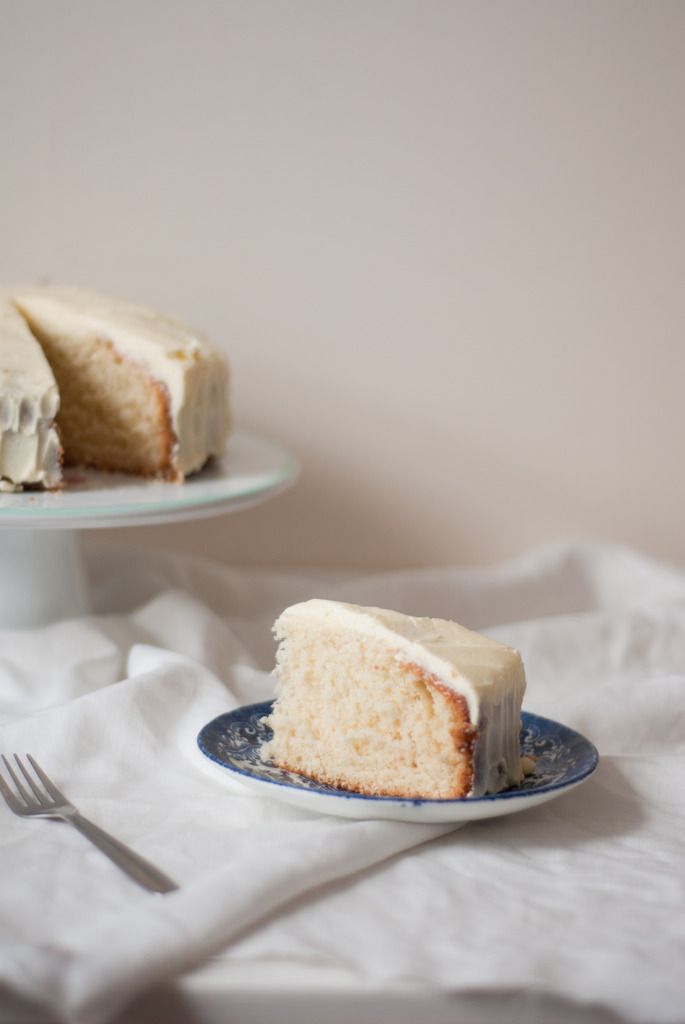
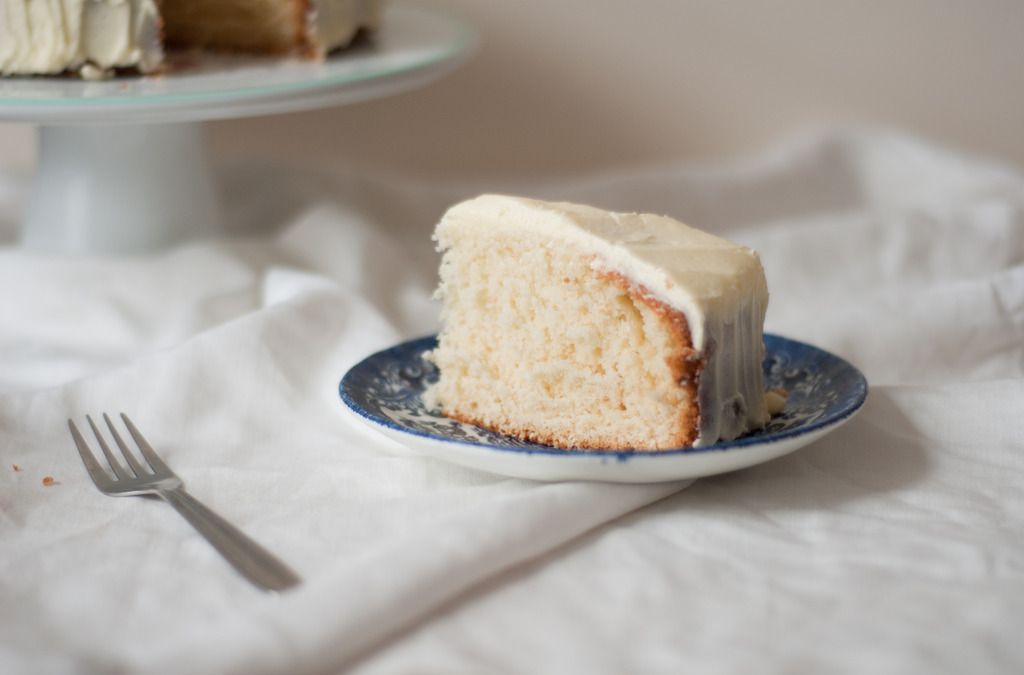
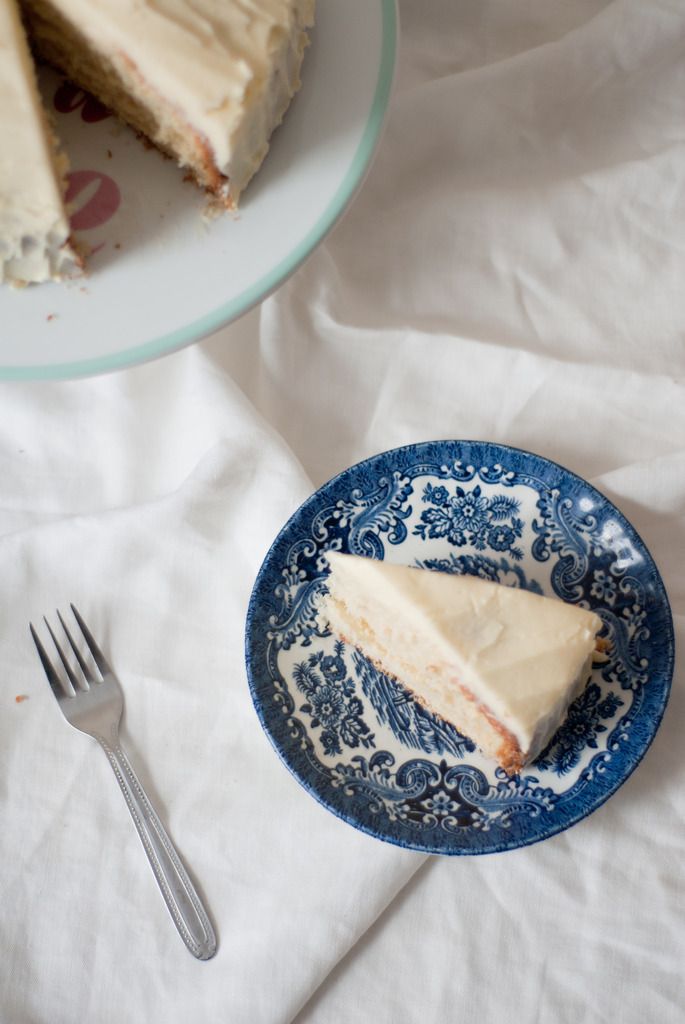
I settled for this Hot Milk cake as I wanted to top it with buttercream and I didn't think the combination on honey cake and buttercream would go as perfectly. I'm rather glad I did as this cake is so simple but so tasty. It's one of those cakes where you have to go back for another sneaky slice. We decided that it would also go nicely with the vanilla ice cream we had in the freezer and that was a great decision.

Although the cake it's self is simple the recipe involves changing up your mixing method a few times. I re-read my own instructions a few times to make sure I got it right and I would really recommend doing the same thing. I've underlined the method used to make things a little easier.
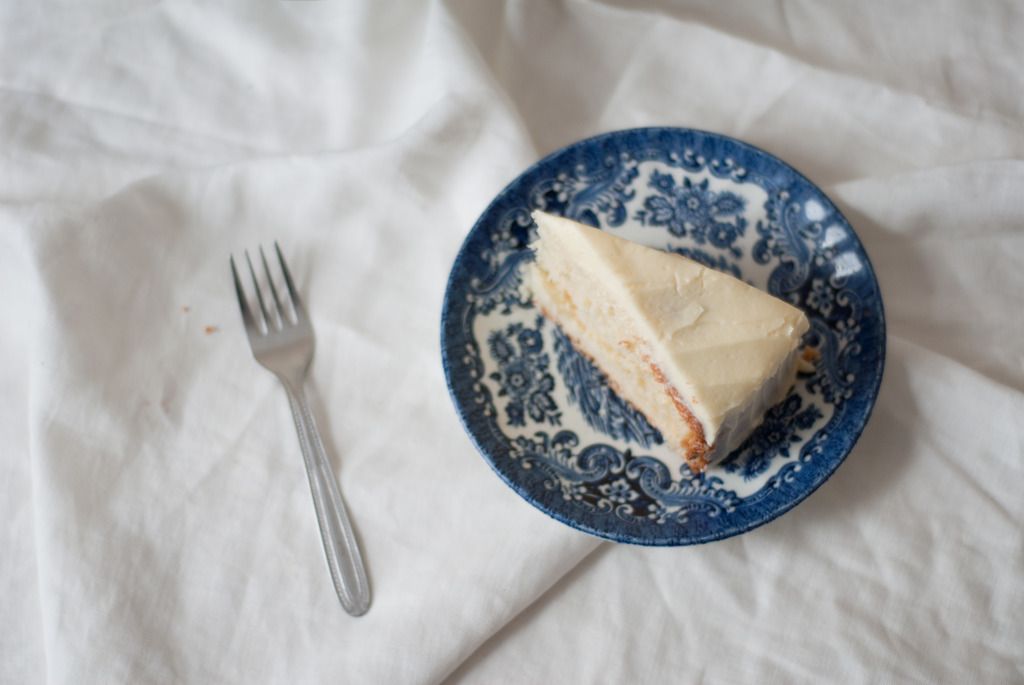
hot, milk, cake, recipe, baking, food, blog, blogger, uk, bake, easy, simple, scalded, photography, styling

hot, milk, cake, recipe, baking, food, blog, blogger, uk, bake, easy, simple, scalded, photography, styling

Hot Milk Cake

- Serves 12 - 

55g salted butter

120ml milk (full fat works best)

195g plain flour, sifted

2 teaspoons baking powder, sifted

3 medium eggs 

225g caster sugar


200g salted butter, very soft

250g icing sugar

1 tbsp milk 


- Grease and line, with baking paper, a 20cm loose bottomed tin.

- Preheat the oven to 180ºC/Gas Mark 4.

- In a small saucepan, combine the milk and the butter. Melt over a low heat, taking care not to burn the milk. Set aside to cool slightly.

-  Break the eggs into a large bowl and break up the yolks with a whisk by hand. 

- By hand whisk in the sugar, in a steady stream. 

- Once combined whisk the egg and sugar mixture with an electric whisk until the mixture is very light and fluffy. This should take around 3 minutes.

- Gently whisk the warm milk mixture in, by hand. 

- Fold in a quarter of the flour and baking powder by hand. You should use the whisk to fold, as if you were using a rubber spatula. Using the whisk helps to stop lumps forming in the mixture.

- Continue to add the flour and baking powder a quarter at a time until all is combined.

- Pour the batter into the prepared tin. 

- Place on the middle shelf in the oven and bake for around 40 - 50 minutes. Until the top is golden and a skewer inserted in the centre of the cake comes out clean. If you find the top of the cake is turning golden too quickly you can place a sheet of baking paper over the top of the cake to prevent burning.

- Leave to cool completely on a wire rack.

- To make the buttercream. Beat, using an electric whisk, the butter until light and fluffy.

- Add the icing sugar and milk and beat for 5 minutes. This will make the buttercream light in colour.

- Spread the buttercream all over the completely cool cake.

- Serve.

Adapted from Kyra's Hot Milk Sponge Cake
6 Replies

[Food] Peaches and Cream "Yollies"

Thursday, July 30, 2015

peaches, cream, yollies, ice, lollies, lolly, yogurt, healthy, natural, summer, recipe, blog, blogger, uk, food

peaches, cream, yollies, ice, lollies, lolly, yogurt, healthy, natural, summer, recipe, blog, blogger, uk, food

When my oldest nephew was little he couldn't pronounce his L's properly which was hilarious for us as he named one of his teddies Long Legs which came out as Yong Yegs. It was rather cute and when we used to say it the way he did, he would laugh and tell us off for not saying it properly. 

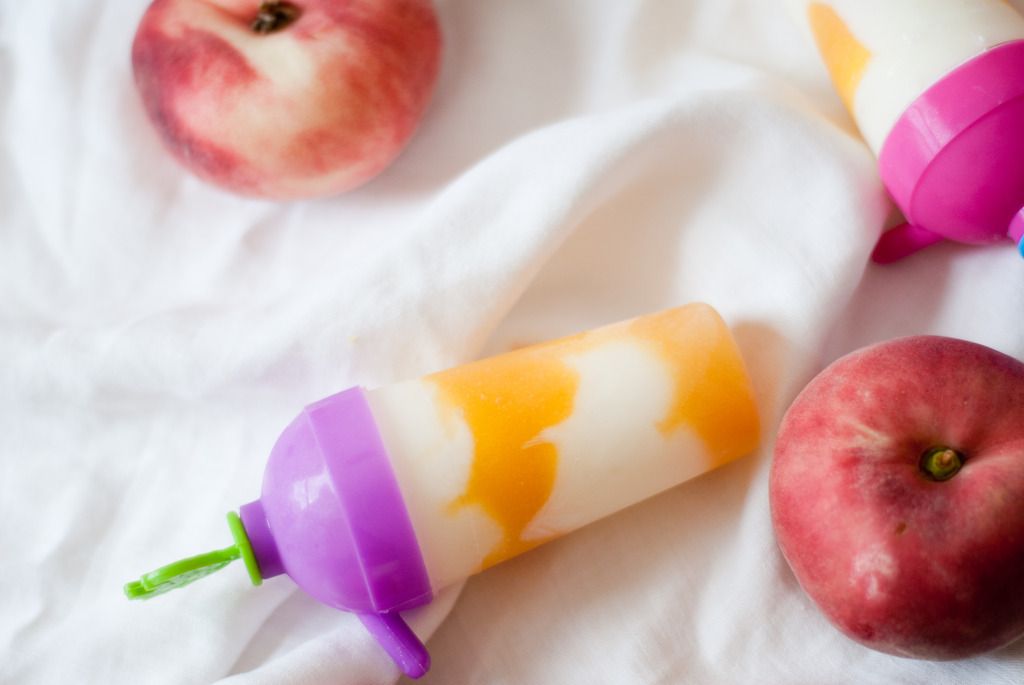
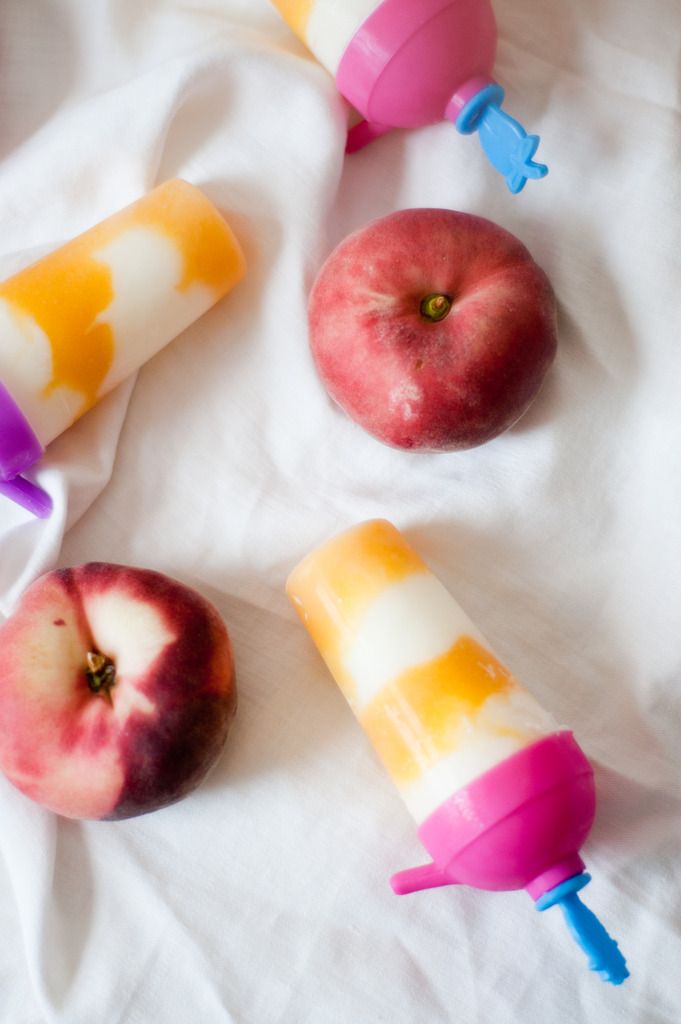
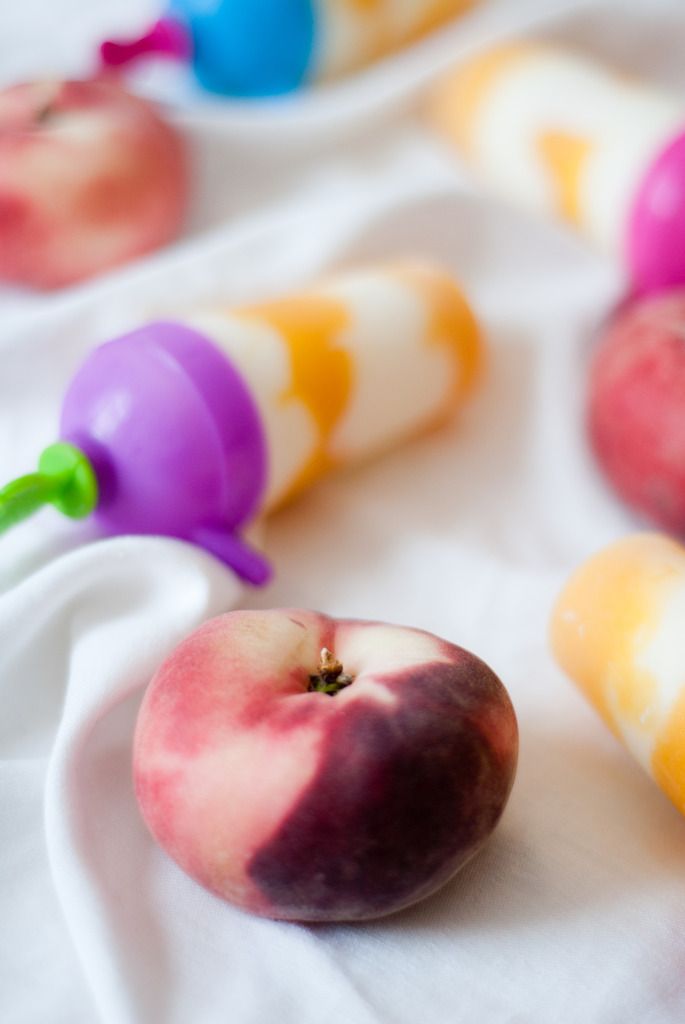
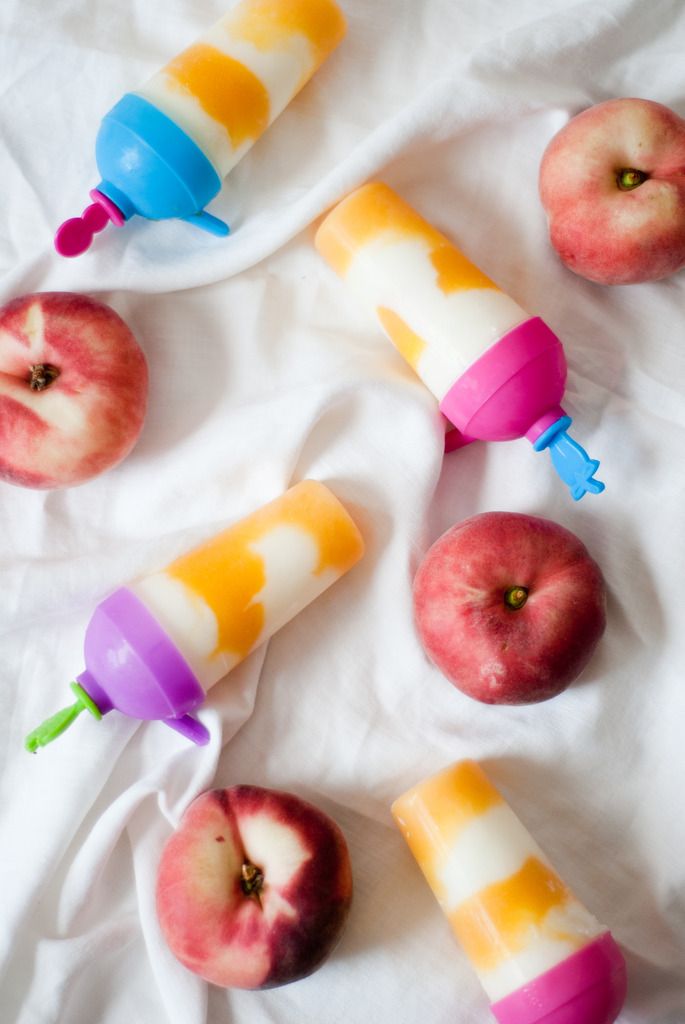
So when I was making these ice lollies the Mr asked if I was making the yollies I had planned to make. At first I thought he was being silly but then I realised these are actually yollies. Made from just peaches and natural yogurt. It's pretty amazing that just two simple ingredients can make something so damn tasty and a great healthy alternative to sugar loaded shop bought lollies. The smell of these is incredible. They smell so fresh and sweet and would be perfect to cool down with on a hot day. Although with the weather as dull as it is at the moment there's no need to cool down!

I haven't made ice lollies in so long. I didn't even know if I had any moulds but luckily, lurking in the back of the cupboard were these ones. Not the prettiest moulds but they do the job. I feel like I need to pick up some new ones before summer is out. These came from the pound shop so you don't need to spend a lot to make your own ice lollies.

peaches, cream, yollies, ice, lollies, lolly, yogurt, healthy, natural, summer, recipe, blog, blogger, uk, food

peaches, cream, yollies, ice, lollies, lolly, yogurt, healthy, natural, summer, recipe, blog, blogger, uk, food

Peaches and Cream Yogurt Ice Lollies

- Makes 6 -

400g fresh or tinned peaches

500g tub of natural yogurt

- Blitz the peaches in a blender until smooth and chunk free.

- Take your ice lolly moulds and layer the peach puree and yogurt until you reach the top of the mould.

- Freeze for at least 6 hours or overnight.

- You may need to run the mould under some warm water to remove it from the lolly.

2 Replies

[Food] Healthier Dark Chocolate Cookies

Tuesday, July 21, 2015

dark, chocolate, cookies, recipe, lifestyle, blog, blogger, food, uk, healthy, coconut oil, oat flour, oat

dark, chocolate, cookies, recipe, lifestyle, blog, blogger, food, uk, healthy, coconut oil, oat flour, oat

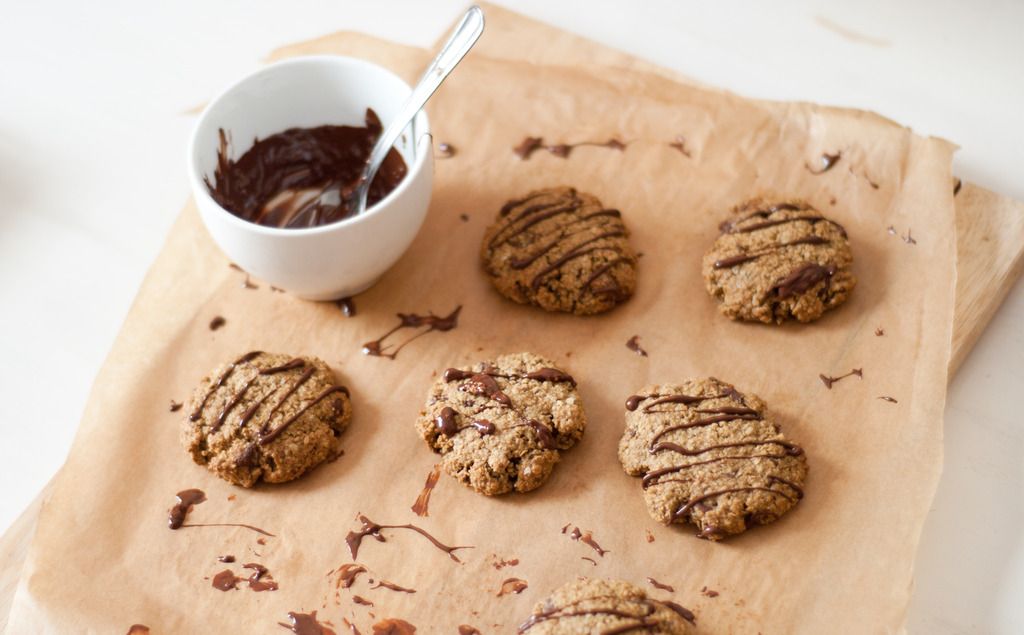
Now I'm not going to lie. If I want a slice of cake or a cookie I will just go right ahead. I'm not into that feeling guilty rubbish. Maybe I'm just lucky that I have a fast metabolism so I burn things off pretty quickly or maybe because if I eat some junk food I'll normally balance it out with healthy food. 

But after a particularly heavy weekend, (heavy weekend when pregnant is always an overdose on food, no alcohol here unfortunately!) my last day at work and my nephews birthday party I'm feeling a little bit unhealthy right now. I've decided that this weeks evening meals are going to balance that out but I thought I'd look into healthier alternatives to unhealthy food especially when it came to treats. 

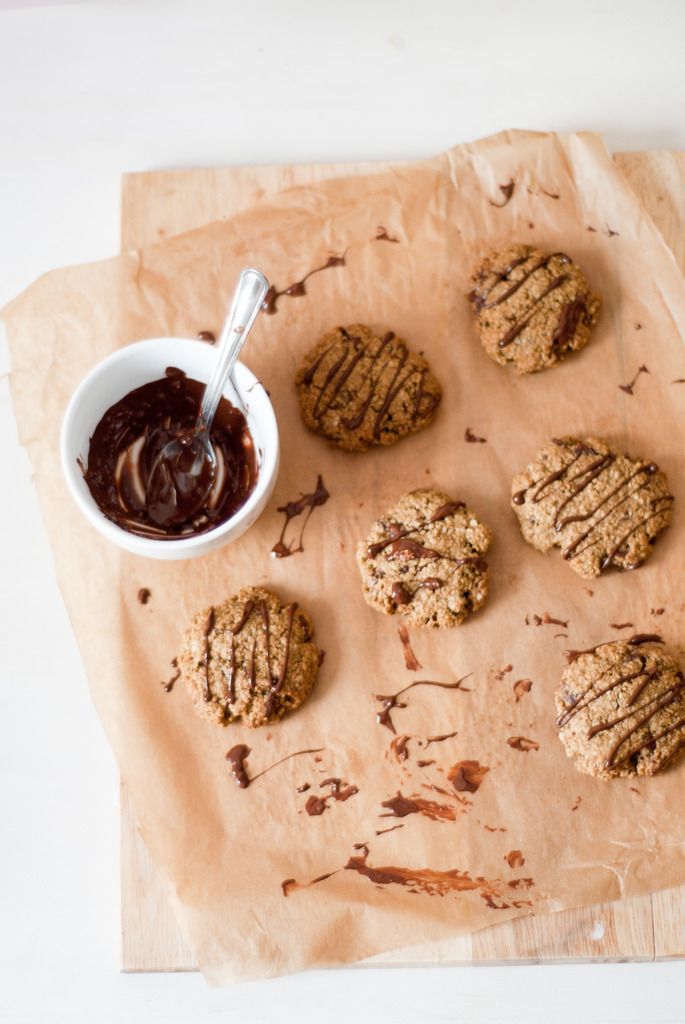
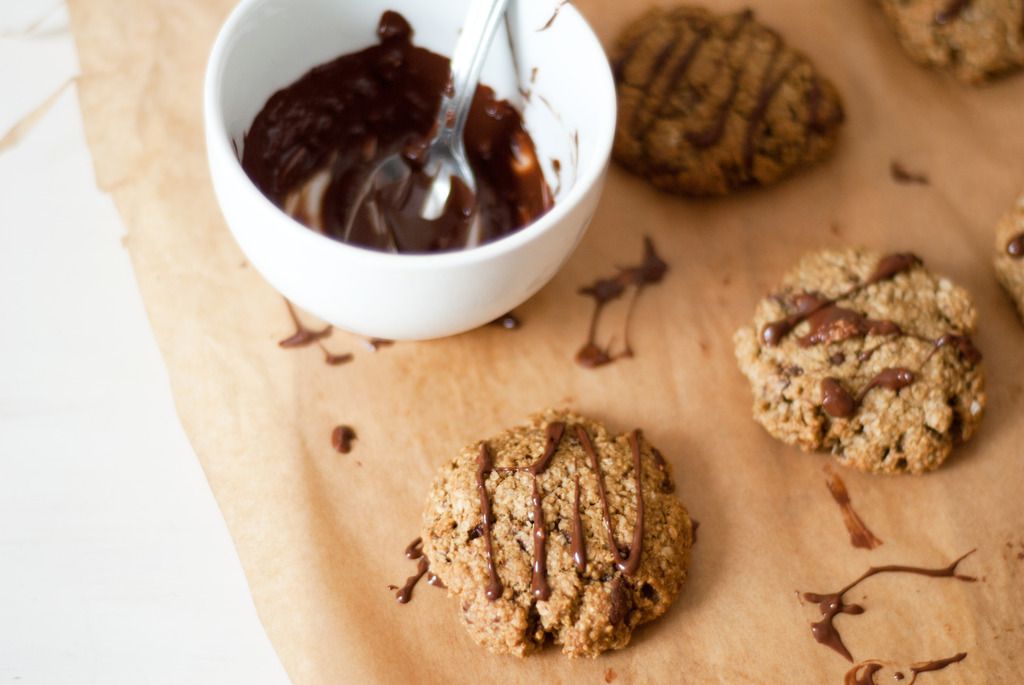
There are loads of recipes out there but most call for expensive health food ingredients. But when I discovered that I could make my own ingredients like coconut oil (recipe coming this week) and oat flour for a fraction of the price it opened up my eyes a little so I thought I'd put the stack of dark chocolate I have from Lindt to good use. Because you really can't go wrong with chocolate chip cookies. I will say these are no where near as good as their calorie and fat loaded siblings, I'd be lying if I said they were, but they hit the spot when you need a sugar fix and you're trying to be healthy. 

Healthier Dark Chocolate Cookies

- Makes 20 - 

2 tsp vanilla extract

1 large egg

4 tbsp dark brown sugar

115g coconut oil

225g oat flour

1 tsp bicarbonate of soda

1 tsp cinnamon

100g dark chocolate chips, I used Lindt Coconut Intense cut into chunks


 - Combine the vanilla extract, egg and sugar into a bowl.

- Melt the coconut oil and let cool slightly before adding to the bowl. Beat until combined.

- Stir in the oat flour, bicarbonate of soda and cinnamon and stir until combined.

- Fold in the chocolate chips

- Chill the dough for at least an hour.

- Preheat the oven to 180ºC/Gas 4 and line two cookie/flat baking trays.

- Scoop out the dough into balls and put on the baking tray. Squash with the palm of your hand.

- Chill for another 20 minutes,

- Bake in the oven for 8 - 10 minutes. Until the cookies have turned slightly golden in colour.

- Cool on the tray for 2 minutes and then transfer to a cooling rack.

- If desired when cool, melt some more dark chocolate and drizzle over the top.
1 Reply

[Food] Strawberry and Ginger Nut Cheesecake

Thursday, July 02, 2015

strawberry, ginger, nut, cheesecake, recipe, blog, blogger, uk, lifestyle, food

strawberry, ginger, nut, cheesecake, recipe, blog, blogger, uk, lifestyle, food

strawberry, ginger, nut, cheesecake, recipe, blog, blogger, uk, lifestyle, food

strawberry, ginger, nut, cheesecake, recipe, blog, blogger, uk, lifestyle, food

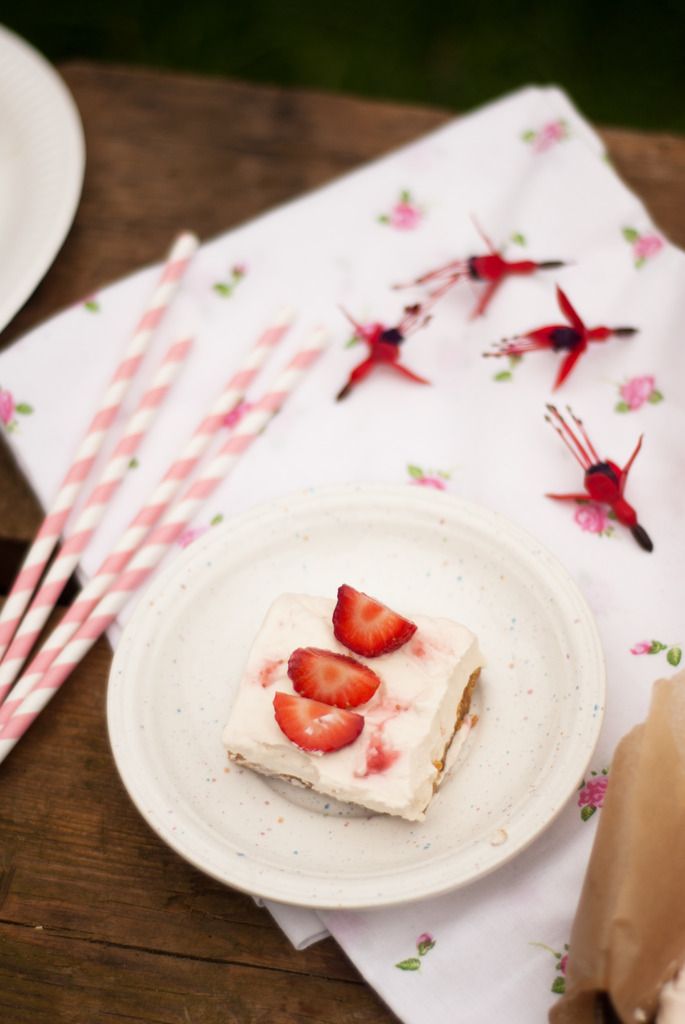
On Sunday we gathered at the Mr's mum's house for a BBQ. The good old British weather decided to do what it does and throw in some downpours as well as the sunshine. Luckily we could shelter, the grill included, under the big gazebo. No rain showers could ruin our day. 

When you go to a family gathering it feels rude not to bring a few things along. I decided that I would bring the classic of potato salad (I've got the recipe for that coming up!) and something that has been on my to make list for a while. Cheesecake. 

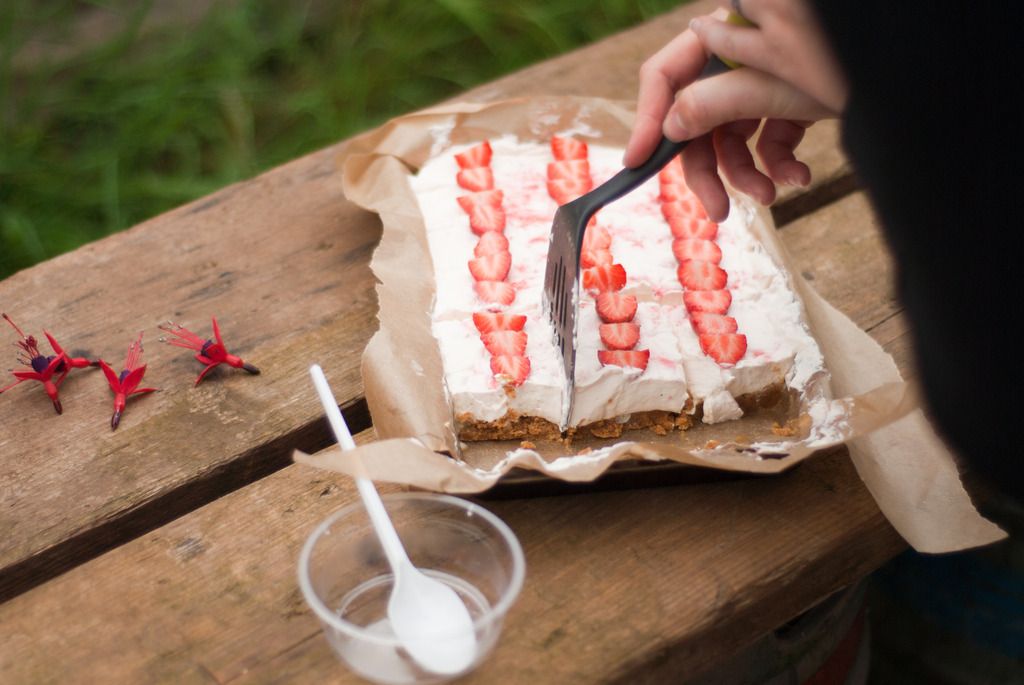
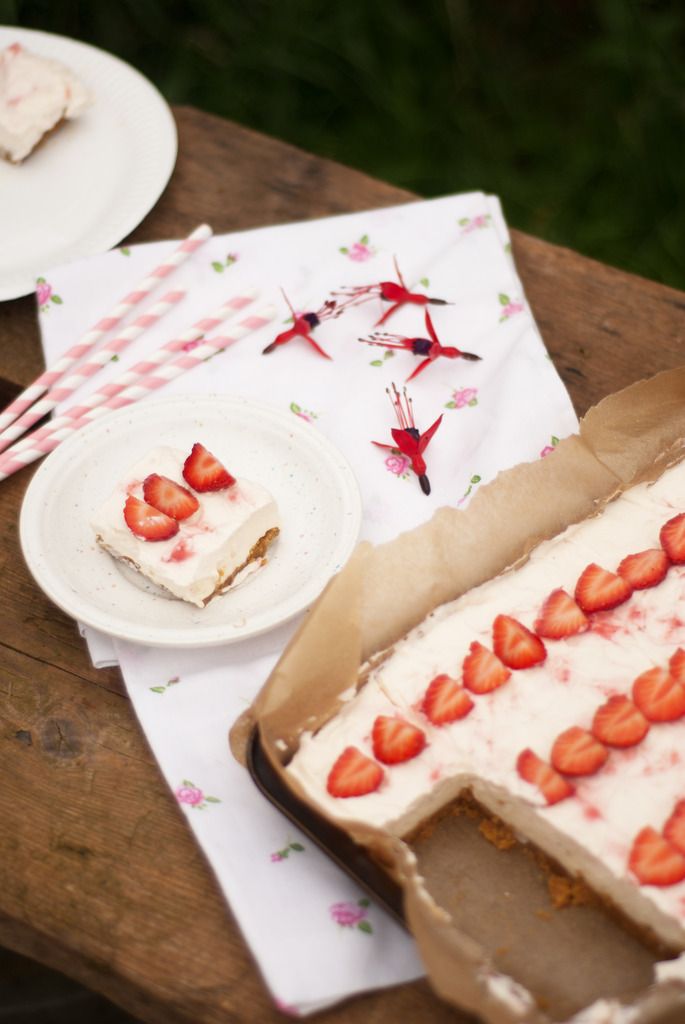
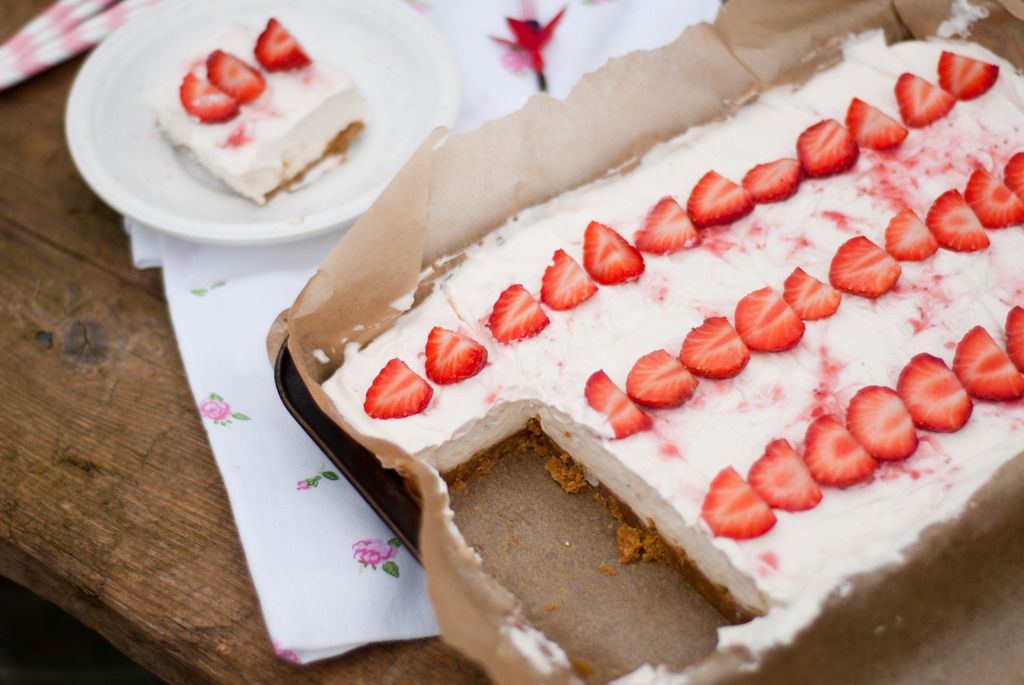
The recipe originally came from a Jamie Oliver magazine. It used raspberries instead and contained raw egg, with baby on board I can't do the raw egg. So I decided to create my own recipe with a bit of everything chucked in. The cheesecake went down so well there was no left overs (the downside of a big family!) I did get to sneak a couple of smaller bits though and it was damn tasty. The Mr's nephew said he was born to eat this cheesecake and with his seal of approval I had better share the recipe.

You will need:

350g ginger biscuits 
150g melted butter

400g strawberries
300ml double cream
400g soft cheese
1 tsp vanilla extract
1 tbsp icing sugar


Using a food processor, blitz the biscuits until they resemble damp sand. If you don't have a food processor bash the biscuits by hand (take out that anger!)

Combine the biscuits with melted butter and place in a lined baking tray. Smooth over and chill in the fridge while you prepare the filling.

Whip the double cream into stiff peaks and set aside. 

Spoon the soft cheese into another bowl and add the vanilla and icing sugar. You may need to add more to taste. Beat together. 

Add the cream into the cream cheese and combine. 

Blend 100g of strawberries and add 3/4's to the cream cheese mix. 

Spoon the cream cheese mix over the base and drizzle the rest of the strawberry juice onto top. Take a skewer and marble the strawberry juice into the cream cheese. 

Finally cut up the remaining strawberries and place on top. Cover with foil and leave to chill for at least 3-4 hours. 

Serve and enjoy! 


0 Replies

[Food] Simple Lemon Drizzle Cake

Saturday, June 20, 2015

baking, food, blog, blogger, uk, lifestyle, lemon, cake, drizzle, easy

baking, food, blog, blogger, uk, lifestyle, lemon, cake, drizzle, easy

baking, food, blog, blogger, uk, lifestyle, lemon, cake, drizzle, easy

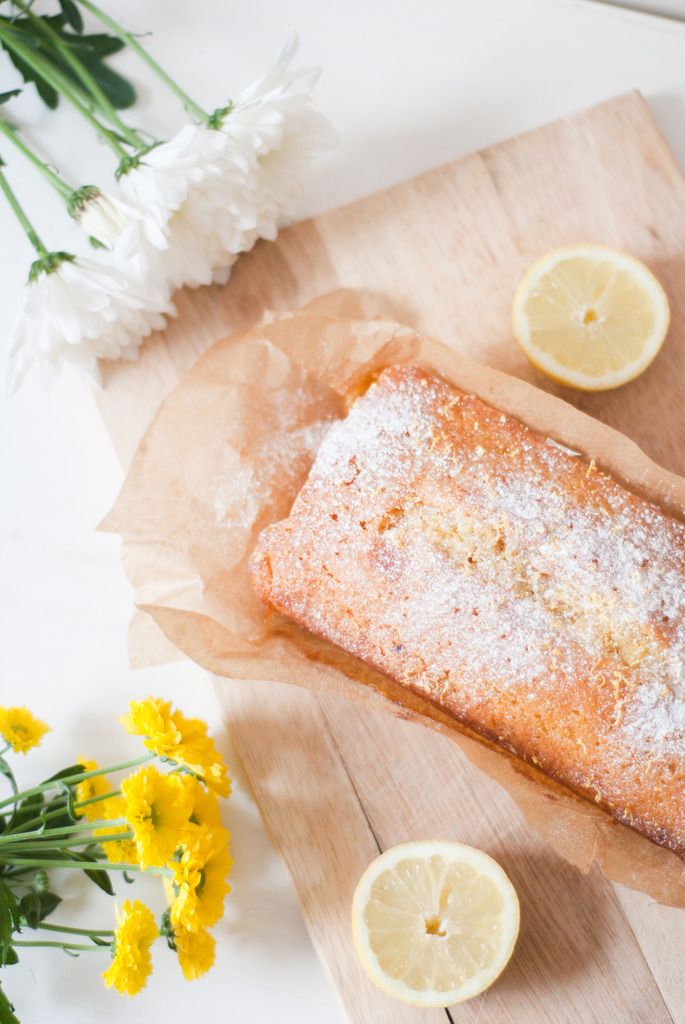
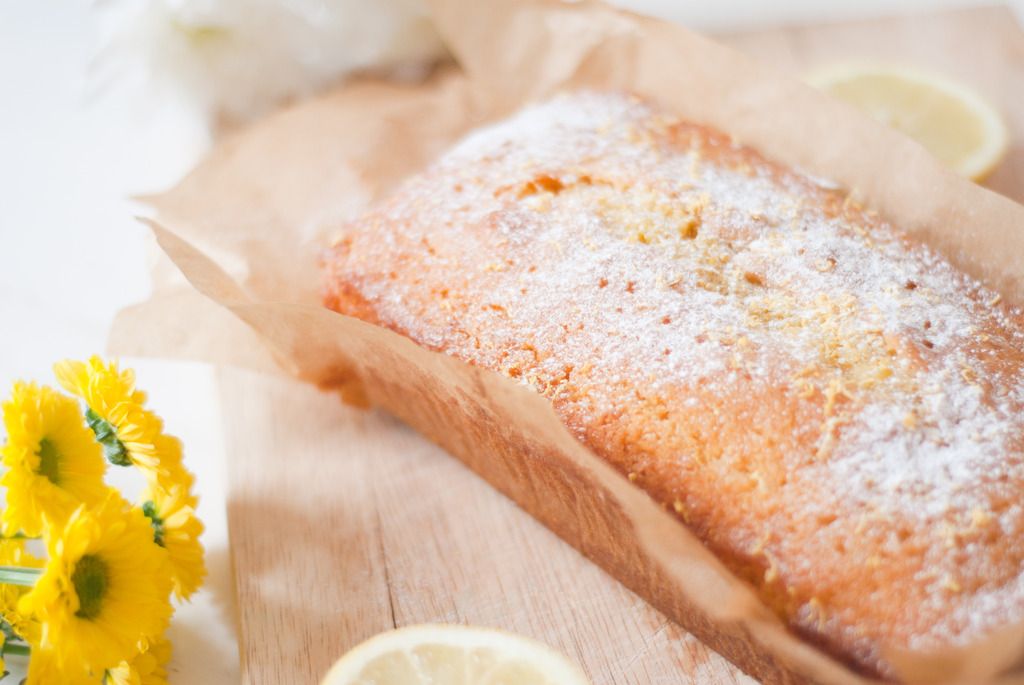
This has to be one of the easiest cakes to make ever. I'm pretty sure that even the most useless cook could bake this to perfection. Now I can't take credit for the recipe. It belongs to Rose Londoner  but when a recipe is this good it has to be shared. It's a cake that has been requested from my friend a couple of times. Once for her birthday and for today her last day at work. It's not going to be the same without her. And even though I now have less than 4 weeks until I start my holiday and maternity leave it's not going to the same. Luckily we've decided to take the big step of turning our work friendship into a real one haha. We may even get those friendship necklaces where you each own half of the heart each. I kid. 

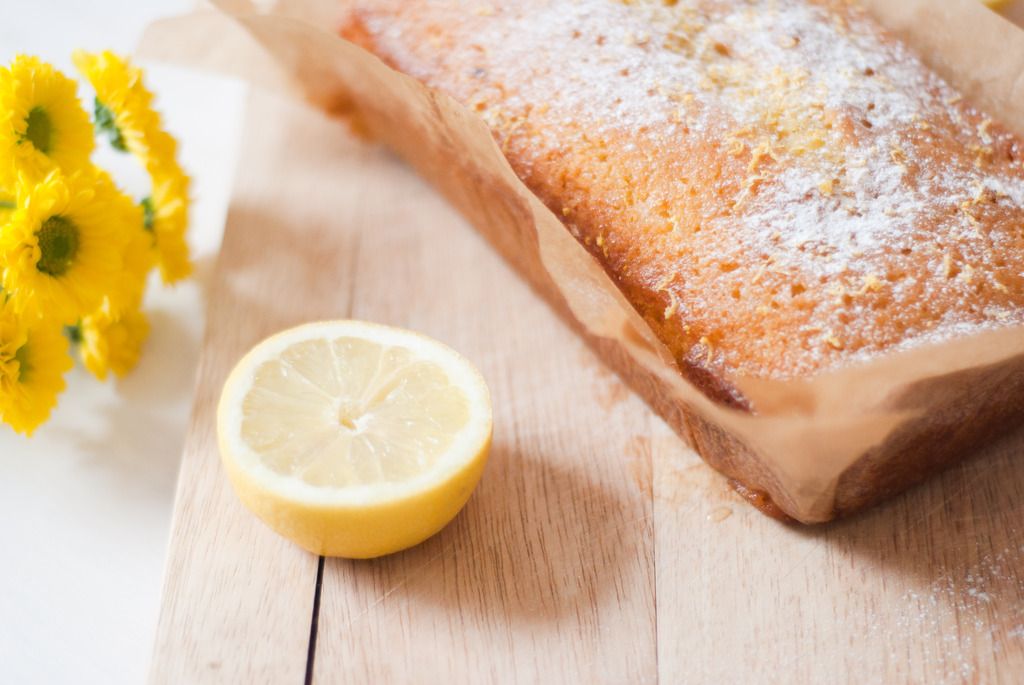
Back to the cake. It's light, fluffy and fresh, perfect for summer. As much as I am a fan of chocolate cake, I have to say that as soon as the sunshine comes around I favour fruitier creations over my usual chocolate fail safe. This cake is beautiful on it's own but would be lovely with a bit of cream or natural yoghurt (it all depends on how healthy you're feeling!) Onto the recipe.

You will need:

3 large free range eggs (I used local ones which tasted even better)
170g self raising flour, sifted
170g caster sugar 
170g unsalted butter 
Zest of 2 unwaxed lemons
1 level tsp baking powder

Juice of 2 lemons (the ones you zested)
125g icing sugar

Grease and line a loaf tin with baking paper. Preheat your oven to 180ºC/ Gas 4.

Cream together your butter and sugar until light and fluffy.

Add one egg and a third of the flour and mix until combined. Continue to do this until you'll used all your flour and eggs. 

Add the baking powder and lemon zest. Mix until smooth.

Spoon into your tin and level. 

Bake for 35 minutes. Check from 30 minutes onward but I find in my oven it takes 40 minutes. If the top is starting to catch place a sheet of baking paper over the top.

Whilst you're waiting for the cake to bake make up the drizzle. Mix the lemon juice and sugar together. It's best to sieve the icing sugar to avoid lumps.

Once the cake is out of the oven poke holes into the cake with a skewer and pour over the drizzle whilst it's still warm.

Leave to cool in the tin completely.

Dust with icing sugar and zest if you like.

Enjoy!

3 Replies
© Little Paper Swans. Design by Fearne.